Pineapple Bun (菠萝包)
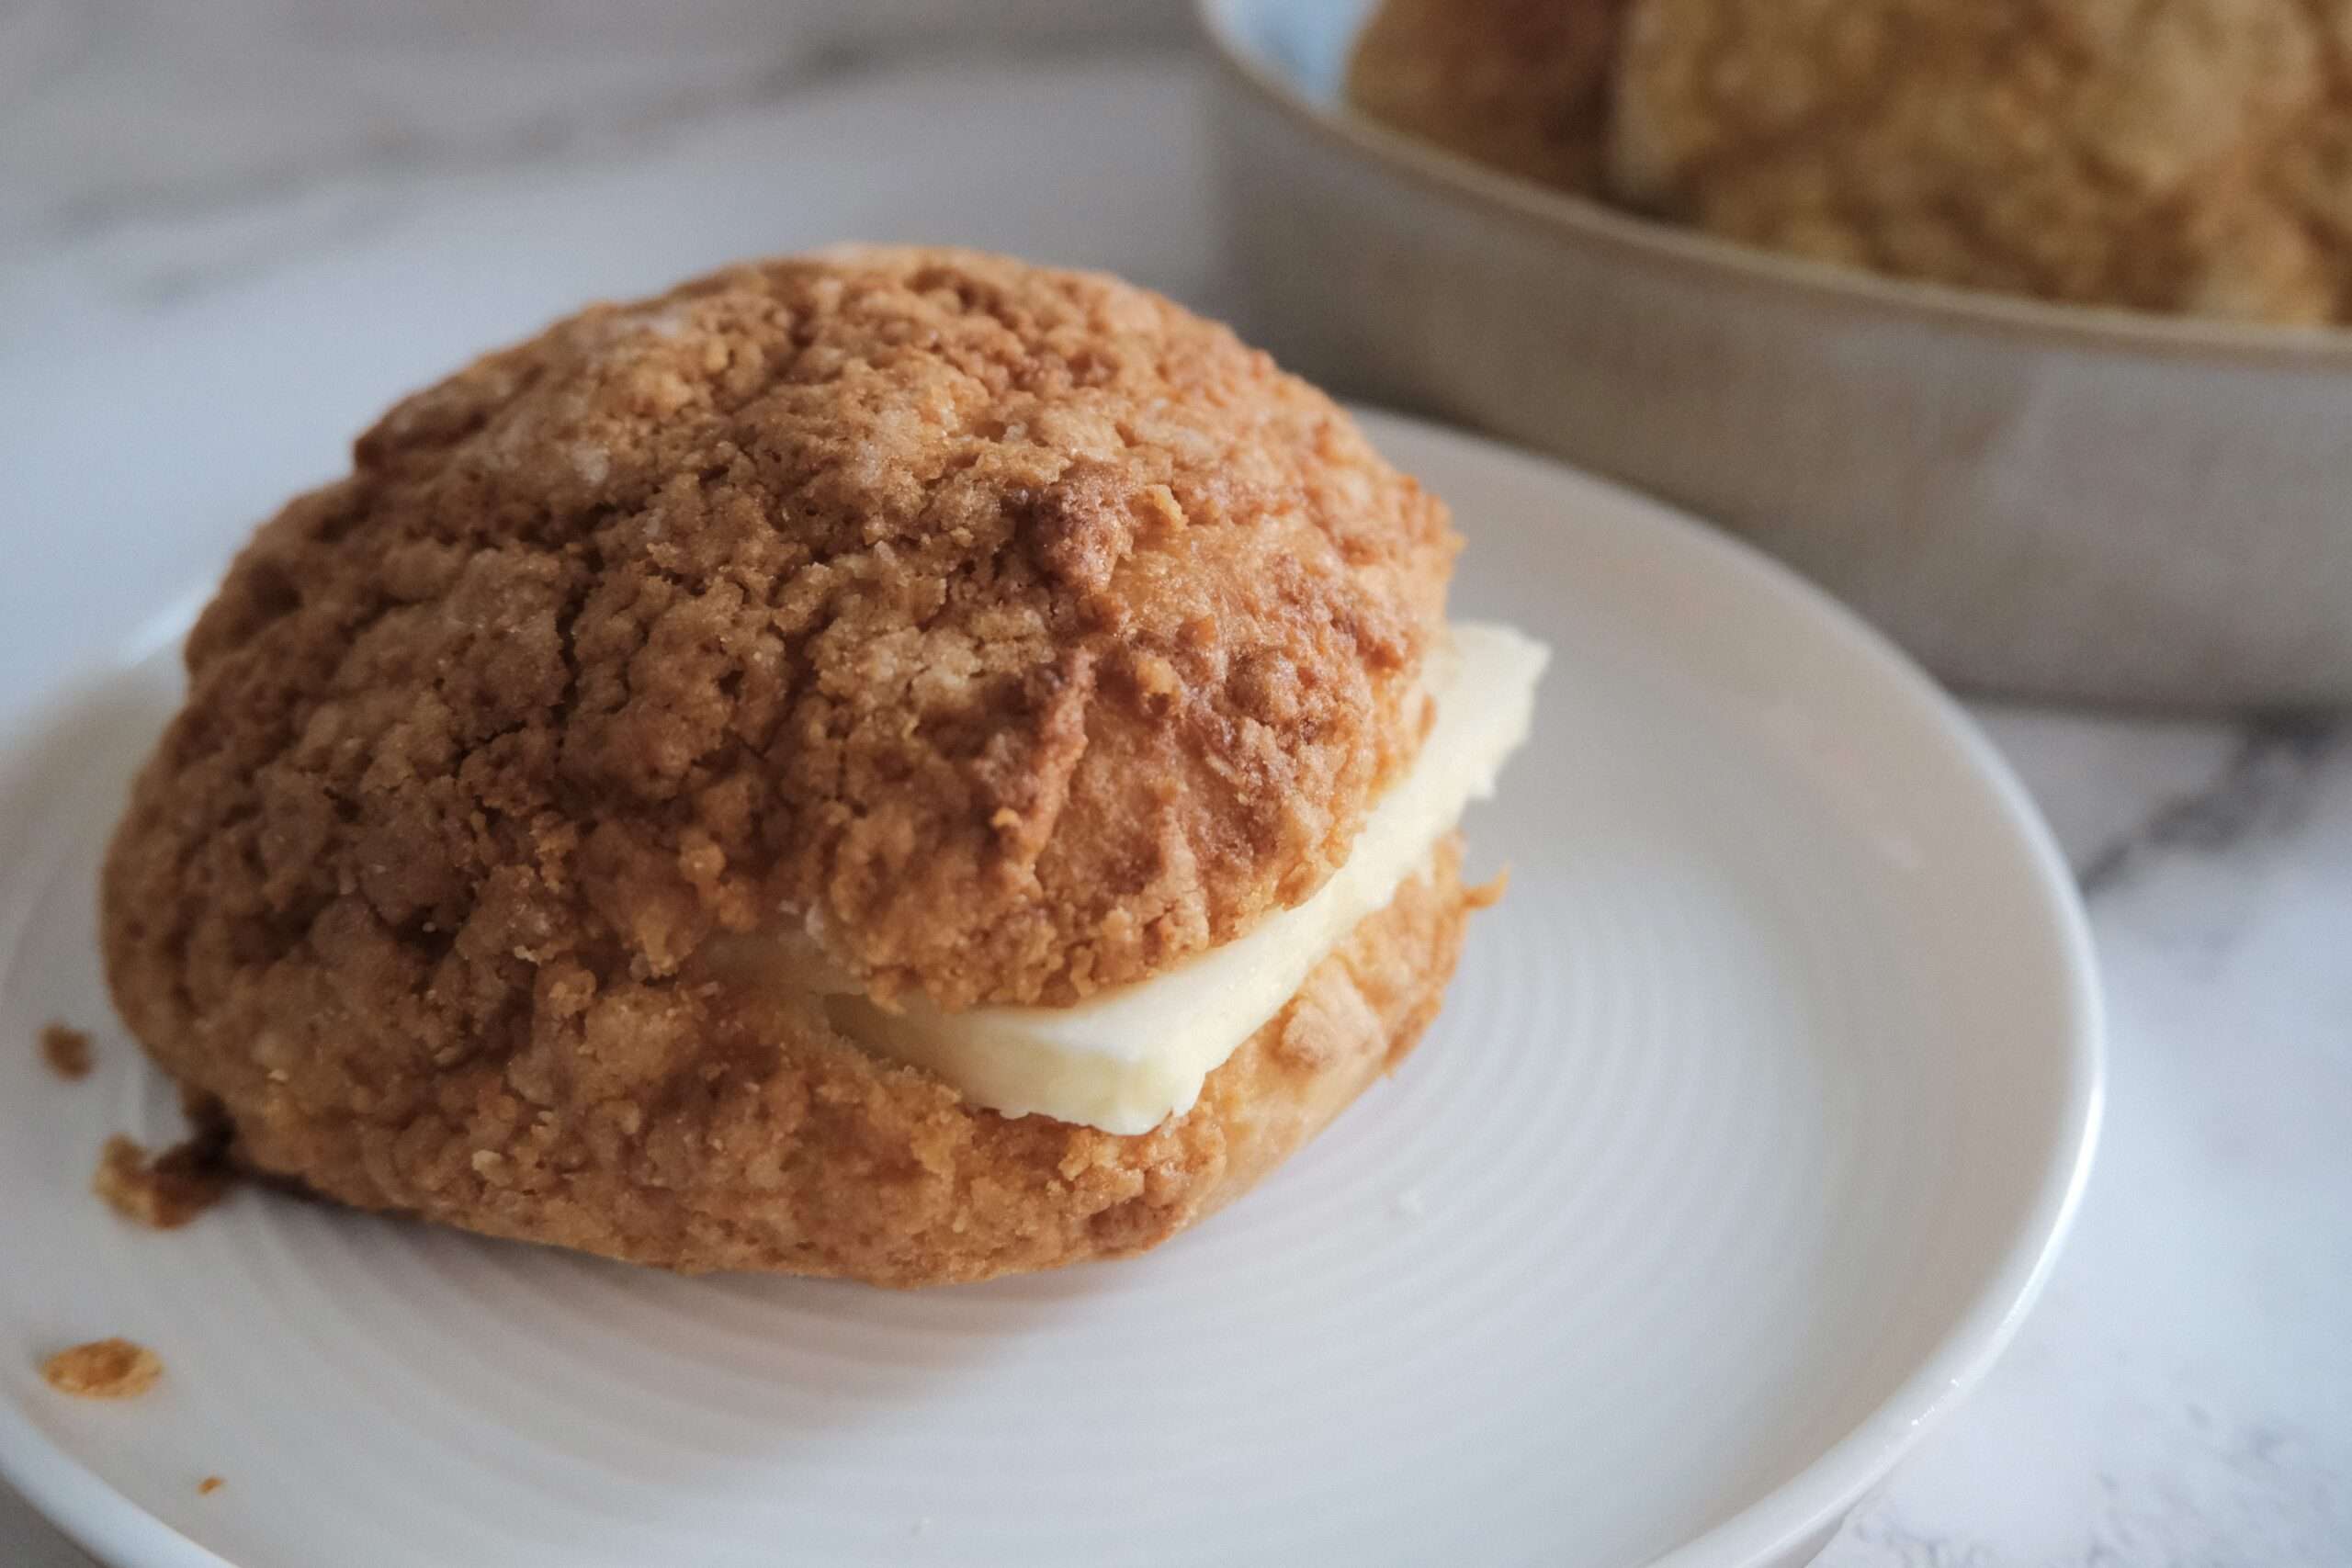
Pineapple bun is a staple in any Hong Kong bakery. When I was young, I loved going to these Hong Kong bakeries, grab a tray, tongs and pick all the breads you want. At the time it was about $0.50 to $0.75 at bakeries. My go to bread was a red bean bread, coconut cream bread, beef curry bread and pineapple bun. Now that inflation has gone up, I thought it’s time I make these bread at home. Plus I love the satisfaction when I can make something I find in stores!
The base for pineapple bun is very similar to my Japanese milk bread. The basic bread follows that recipe and the only thing I added is this cookie crust.
Pineapple bun history
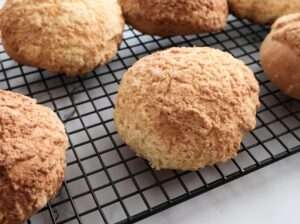
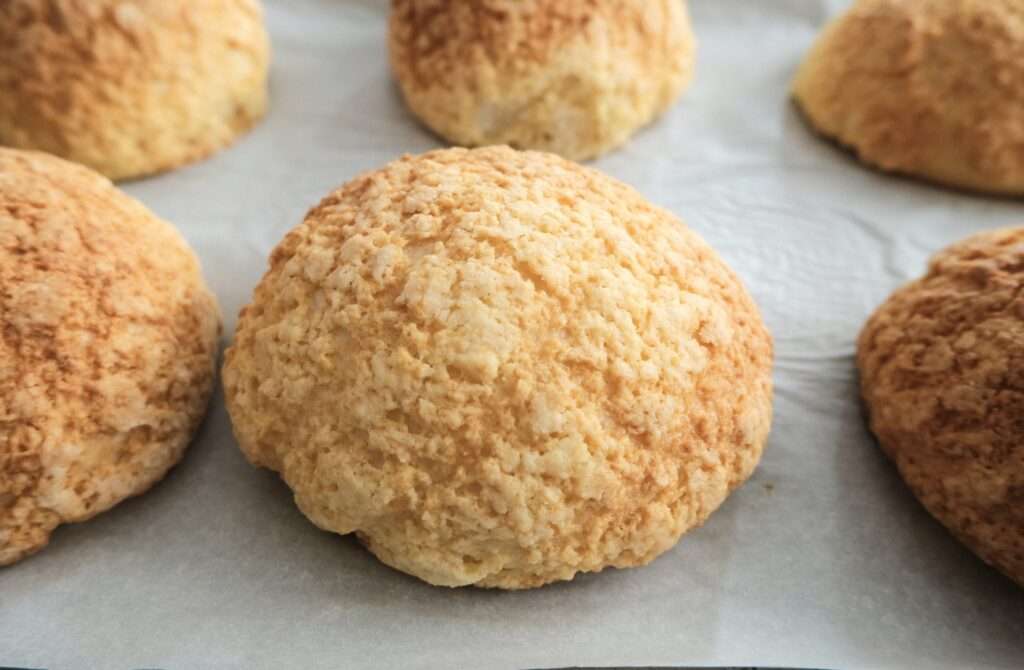
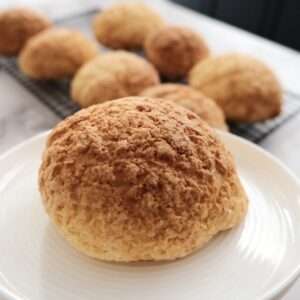
Pineapple bun has no pineapple in it. However it got its name because of the way it looks. In Chinese it’s call Bo Luo Bao or Bo Lo bao (菠萝包). It was created in the 1940s in Hong Kong because There was quite a bit of Western influences and contact with Western countries in Hong Kong. This particular Pineapple bun was inspired by the Mexican Concha. The Concha is a sweet bread with crunchy topping. It typically looked like a seashell on top (hence the name Concha), while the pineapple bun has a checkered crust.
Ingredients:
There aren’t any special ingredients needed in this recipe. There is a bit of technique and time that is needed. However, you can find most ingredients in your cupboards. I would advise to always have three types of flour available in your cupboards: all purpose flour, a small bag of bread and cake flour.
- Bread flour: has higher protein content and helps to form stronger gluten formation that gives the bread more chewiness and elasticity
- Cake flour: has lower protein which means it’s great for cakes, biscuits and muffins where you don’t want that elasticity or chewiness. If you have too much protein content or gluten, your cakes or baked goods will become quite tough
- All purpose flour: medium level of protein which is great for all kinds of recipes and most of the time you can get away with baking with all purpose flours for cookies, quick breads, pancakes and crepes.
I prefer to use a mixture of both all purpose and bread flour for my breads. However bread flour is hard to find in bulk (or sometimes I don’t bake that much) so I buy a small bag of it and mix with all purpose flour which I can buy in bulk to use in other recipes.
Eggs, butter and milk are ingredients that will make the bread soft. The sugar helps to add a slight sweetness.
How to make it
There are 2 parts to making the pineapple bun: making the bread bun and the cookie crust.
Bread bun:
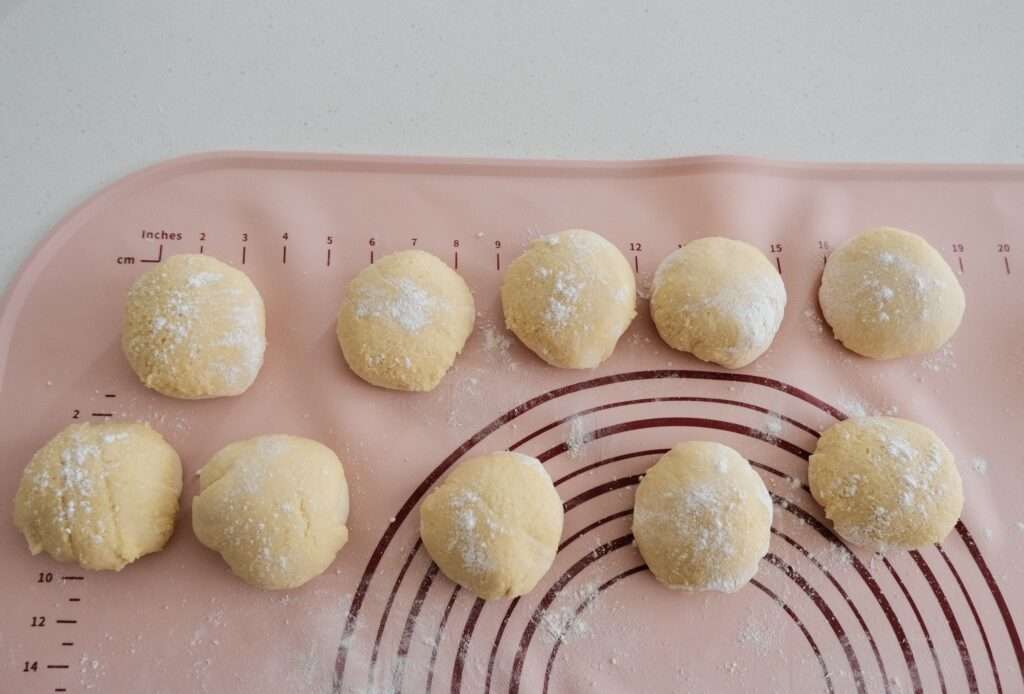
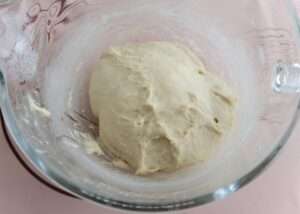
For the bread portion, you mix the milk, flour, sugar and yeast together until it forms a dough then egg is added along with salt and butter. Once it’s all mixed, the bread will need to be proofed for at least 45 minutes or until it doubled in size. Once it’s proofed, divide the dough in equal pieces and shaped into a bun. Then the cookie crust is wrapped on top.
Cookie crust:
I found making the cookie dough to be very difficult. It was hard finding the best butter:flour ratio. If there is too little flour, it’s hard to roll out and sticks to everything. If I put too much flour then the crust becomes too tough. For the cookie crust, it might take some experimenting to get it to your liking. Second problem I encounter is how to put the cookie crust on the bun with ripping or getting stuck to things. I’ve tried multiple different ways, I found freezing it first then keep the cookie crust in the fridge and then just take it out one by one to work with.
This recipe should yield about 10-12 buns depending on how big you like them.
Pro-tip:
- Make the cookie crust as the dough is proofing and leave it in the freezer to firm up
- Use a saran wrap to roll out the cookie crust.
- Dust a bit of flour onto the saran wrap before rolling out the cookie crust
- Use the saran wrap to wrap the cookie crust onto your bun. You can shape the cookie around the bun and wrap it by twisting the saran wrap around the bun.
- Sprinkle some flour onto the workbench and run your bench scraper over it, then use it to score the top of the cookie dough.
- When dividing the bread bun and cookie crust, if one piece is too small, you can cut a piece off a larger piece and put it with the smaller piece.
- Don’t be concerned if your cookie crust doesn’t form a perfectly round shape, it won’t matter after baking
- If reheating the pineapple buns after refridgeration, I would recommend using a wet paper towel over the bread and microwave it.
Pineapple Bun
Equipment
- Standing mixer
Ingredients
Bread
- 300 g all purpose flour
- 125 g bread flour
- 2 g salt ½tsp
- 40 g sugar
- 200 ml warm milk
- 5 g dry active yeast 1 tsp
- 1 room temperature egg 50 g
- 30 g softened butter
Cookie dough
- 60 g softened butter
- 40 g sugar
- 110 g cake flour
- 1 egg
- 15 g milk powder
- ½ tsp baking powder
- ½ tsp baking soda
Instructions
Making the bread
- Microwave milk for 30s, add in the yeast and stir quickly. Leave it for 2-3 minutes
- Combine all purpose flour, bread flour and sugar into standing mixer
- Pour in the milk (make sure to get all of the yeast at the bottom)
- Mix on medium low until it forms a rough dough
- Add in beaten egg and mix until it's incorporated
- Add in softened butter and salt, mix until all ingredients have been incorporated. It might take a bit longer for dough to come together but be patient. The dough will be a bit wet.
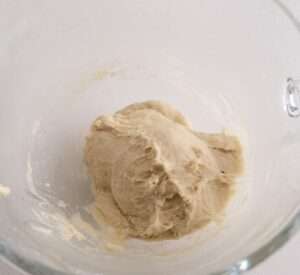
- Once it forms a dough, cover and place into a warm place to proof. I used my oven on proofing mode or you can use the oven with a bowl of hot water.
- Proof for 1 hour to 1 hour 10 minutes or until it's double in size
Cookie crust
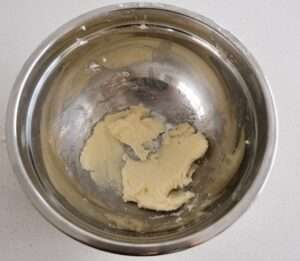
- Prepare the cookie crust by mixing the butter with sugar. Make sure to incorporate all sugar in before moving onto the next step.
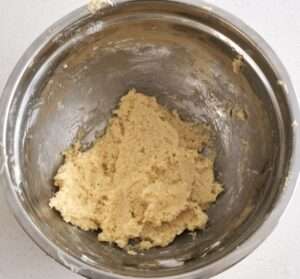
- Add in egg and cake flour, milk powder, baking powder and baking soda. Mix until it's incorporated.
- Roll into individual balls, it should make about 10-12 and place onto a baking tray with silicone mat or teflon sheet
- Freeze for at least 30 minutes.
Making the pineapple bun
- On a clean surface, sprinkle some flour, flatten the dough to deflate some of the air and roll into a long log.
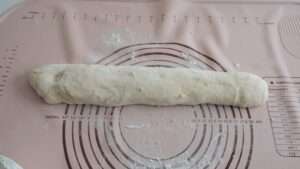
- Divide into rough 10-12 pieces. If it is not even, you can cut a small piece from a large piece and incorporate to the smaller pieces
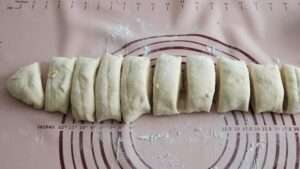
- Tuck the edges under and cup your hand over the dough. Move in a circular motion with the dough to shape into a round bun.
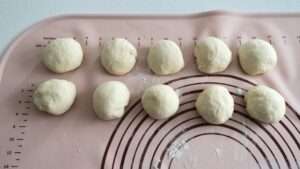
- Once all the dough is shaped, cover and set aside and rest for about 10-15 minutes
- Take the cookie dough out of the freezer and let it rest in the fridge for about 10 minutes
- Place the individual cookie crust onto the teflon sheet. Use either cup or ramekin (3 inch or 7.6cm in diameter) to press down into a round flat pancake about ½ inch in thickness.
- Use a dough scraper and scrap up the cookie crust and place onto the dough. Shape it so the cookie crust hugs the bun. Avoid using your hand to cookie crust too much or else it will melt.
- Use a bench scraper or dough cutter to cut a checkered shape.
- Place the buns onto a baking sheet. Proof for another 30-45 minutes
- preheat the oven to 350℉
- Bake for 25-30 minutes or until golden brown.
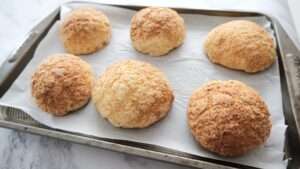
- Let it cool on cooling rack and enjoy!
