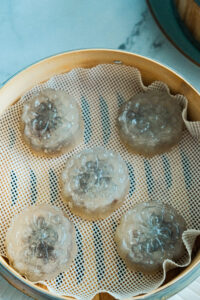
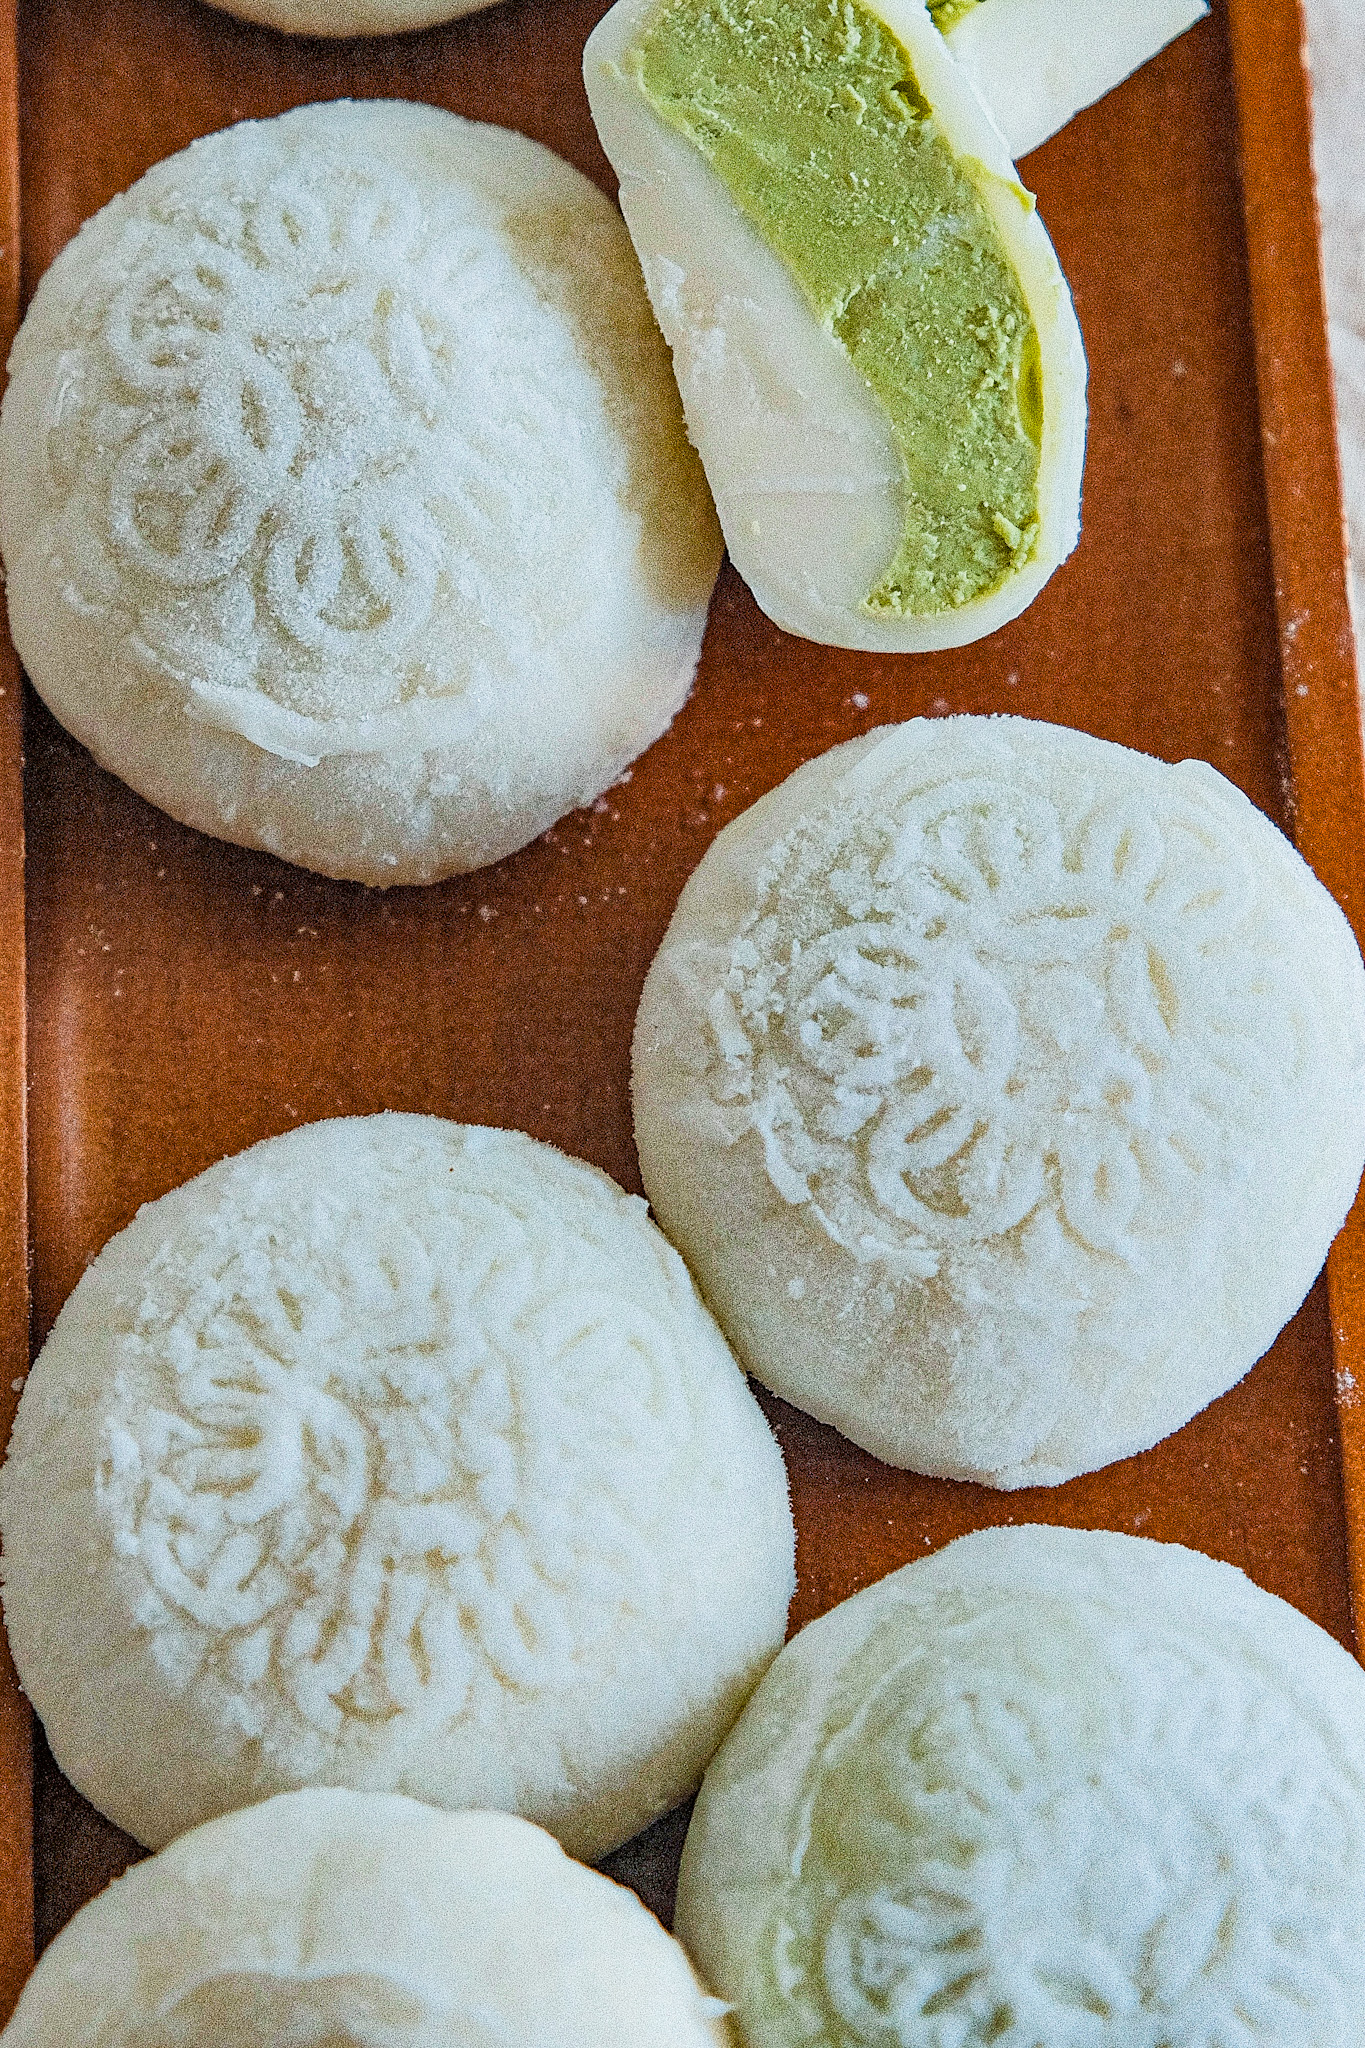
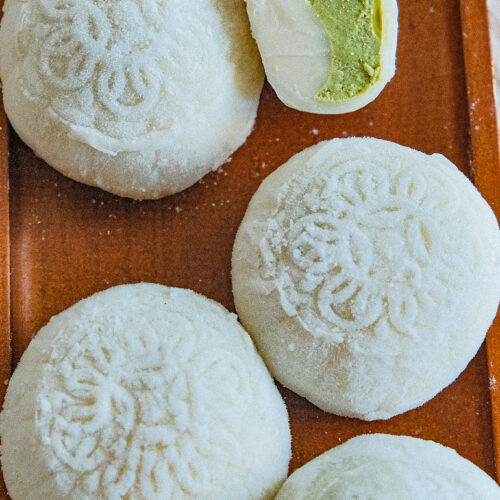
Snow Skin Mooncake (冰皮月饼)-matcha cream filling
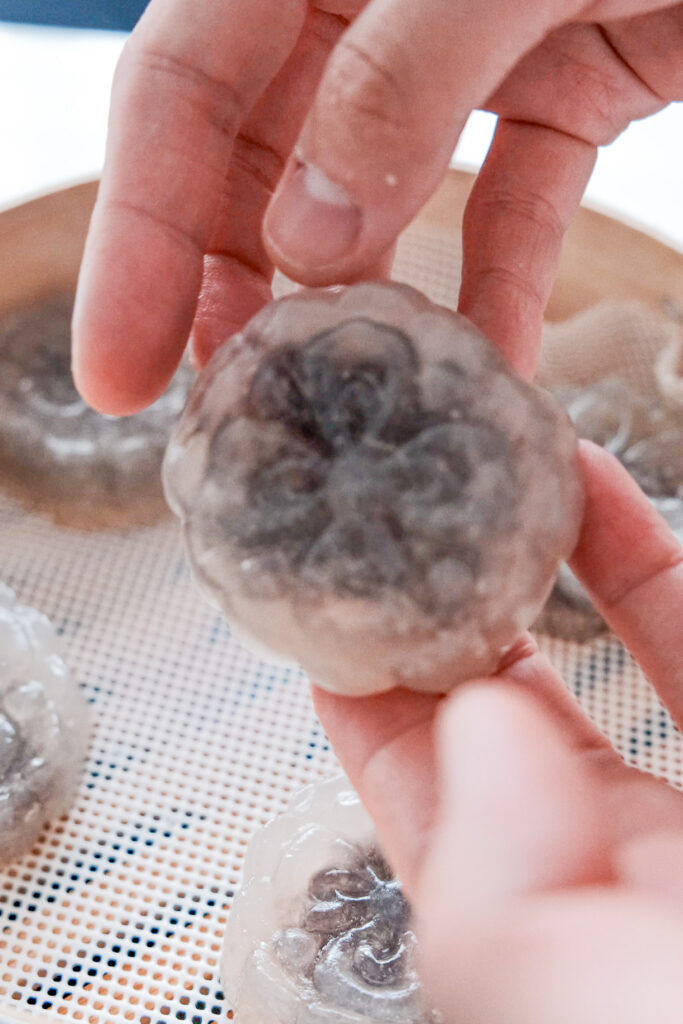
I previously did a post crystal mooncake but this time around I’m making snow skin mooncake. This is essentially a mochi on the outside and a filling (either red bean or a cream filling). I enjoy these alternative mooncakes because the more traditional mooncake can be quite heavy and calorie dense! This time I’m making some snow skin mooncake!
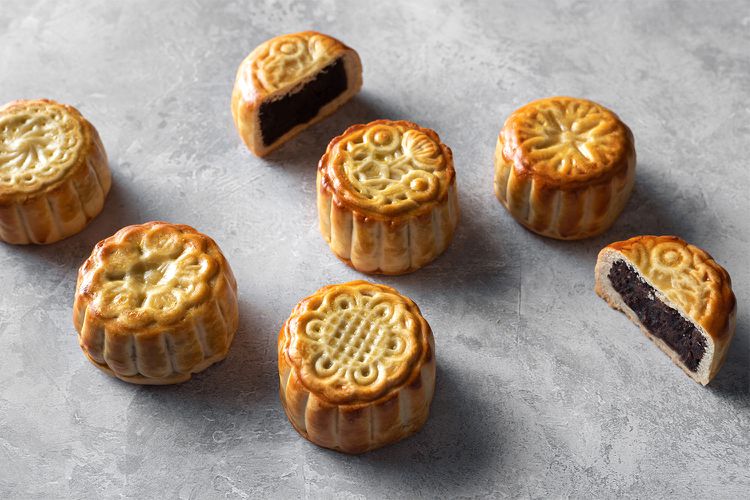
courtesy of The Spruce eats
Why is it called snow skin mooncake?
The reason it is called snow skin mooncake is because it’s typically stored in the freezer. It helps to keep the texture of the skin, which is more like a mochi than your typical mooncake. Often times it contains more softer filling like a cream or ice cream which can be very soft if left out.
I used to buy snow skin mooncake from Chinese grocery store all the time. I love that the mooncake was light in flavour. They had fruit and lots of interesting flavour vs. the traditional mooncake with red bean, salted egg yolks etc. The traditional mooncake is still good, especially if you are really hungry but I like variety.
Lately I’ve been so busy that I haven’t taken the time to find these snow skin mooncakes. However, it’s no problem I have all the ingredients at home because I love making mochi (which is essentially what the snow skin mooncake is made out of). I love the soft chewy texture of mochi and this mooncake is just that!
For this particular recipe, I’m using match cream filling. I love that it’s light so it doesn’t feel like you are eating a lot.
Ingredients
Snow skin:
- 1/3 cup of sugar
- 1/4 cup of corn starch
- 3/4 cup rice flour
- 3/4 cup of glutinous rice flour
- 3 tbsp of oil
- 1 1/4 cup milk
Matcha filling
- 1 pack cream cheese (250 or 8oz) room temperature
- 1/3 cup of sugar
- 1 tbsp matcha powder sifted
- 1/4 cup of whipping/heavy cream room temperature
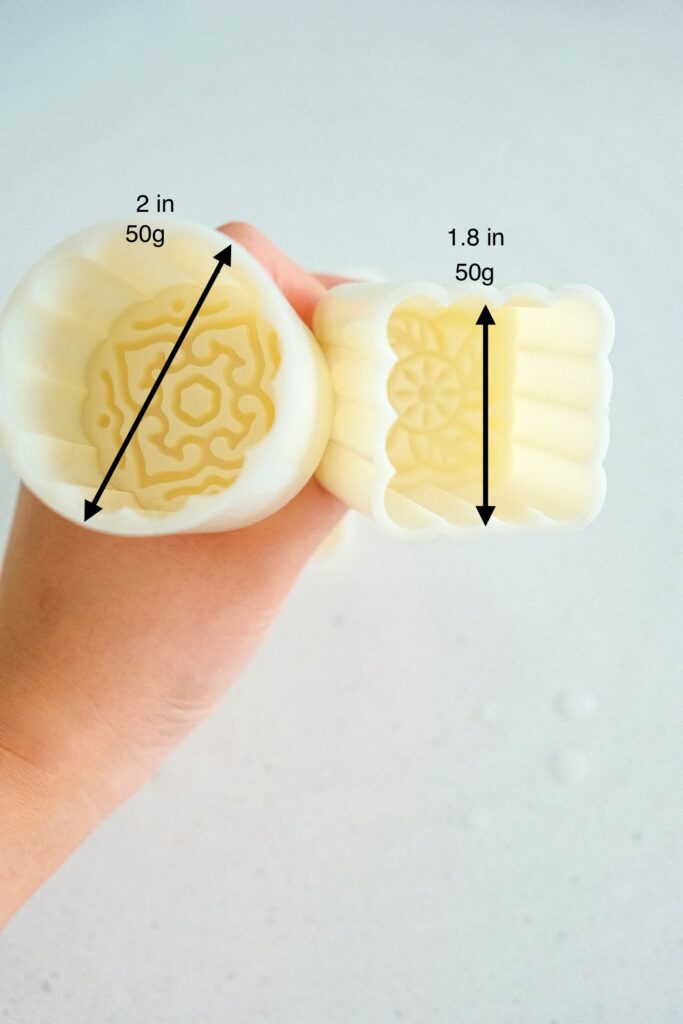
This will make about 20 of 50g mooncake.
Substitution for filling
If you don’t like matcha, there are few options you can make. I like crushed Oreo or Lotus Biscoff. Omit the whipping cream and just add cream cheese and sugar along with the crushed cookies. Then form into balls and freeze.
Generally I recommend the cookies to be slightly on the drier side so it helps to form individual balls and soften with cream cheese.
If you prefer more a fruit flavour, you can also grind up some frozen fruits like strawberry, mango etc. Make sure to freeze all the filling for the ease of working with them.
Cookie or biscuit filling
- 1 pack cream cheese filling (250g or 8oz)
- 1/2 cup of crushed Oreo or Lotus Biscoff
- 1/4-1/3 cup of sugar depending on how sweet you want.
Fruit filling
- 1 pack cream cheese filling (250g or 8oz)
- 1 cup of ground up fruit
- 1/4-1/3 cup of sugar, depending on the sweetness of the fruits.
How To Make Snow Skin Mooncake
For this particular recipe I’m making the matcha cream first, freeze it and then make the mooncake skin. In addition, you want the cream cheese and whipping cream to be at room temperature. If you forgot, just pop them into microwave for about 20-30s for cream cheese and 10-20s for whipping cream.
Matcha cream
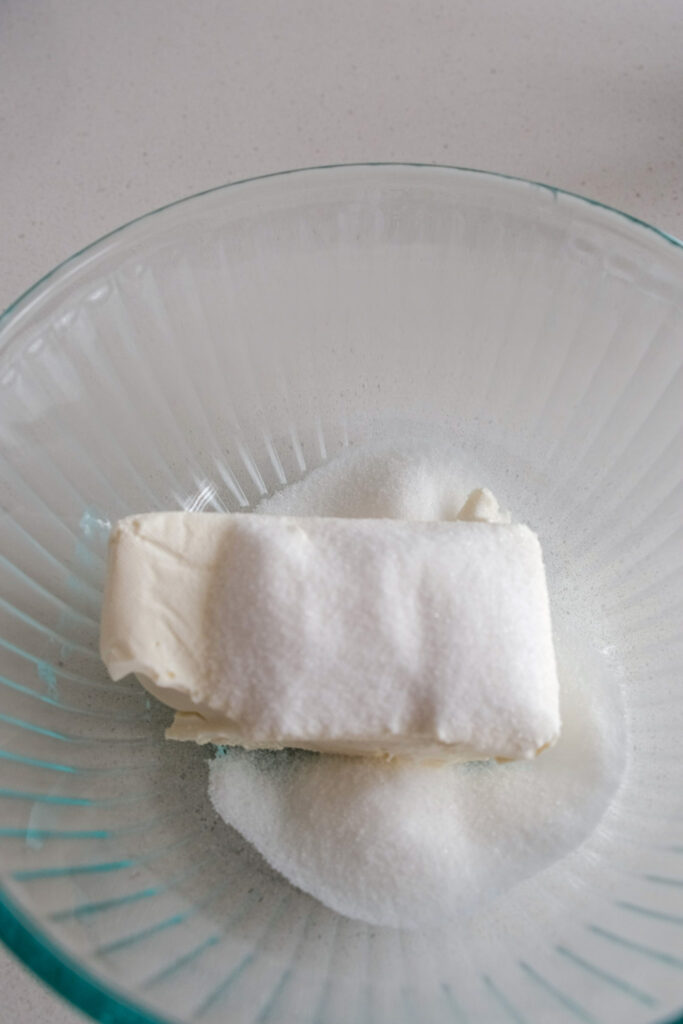
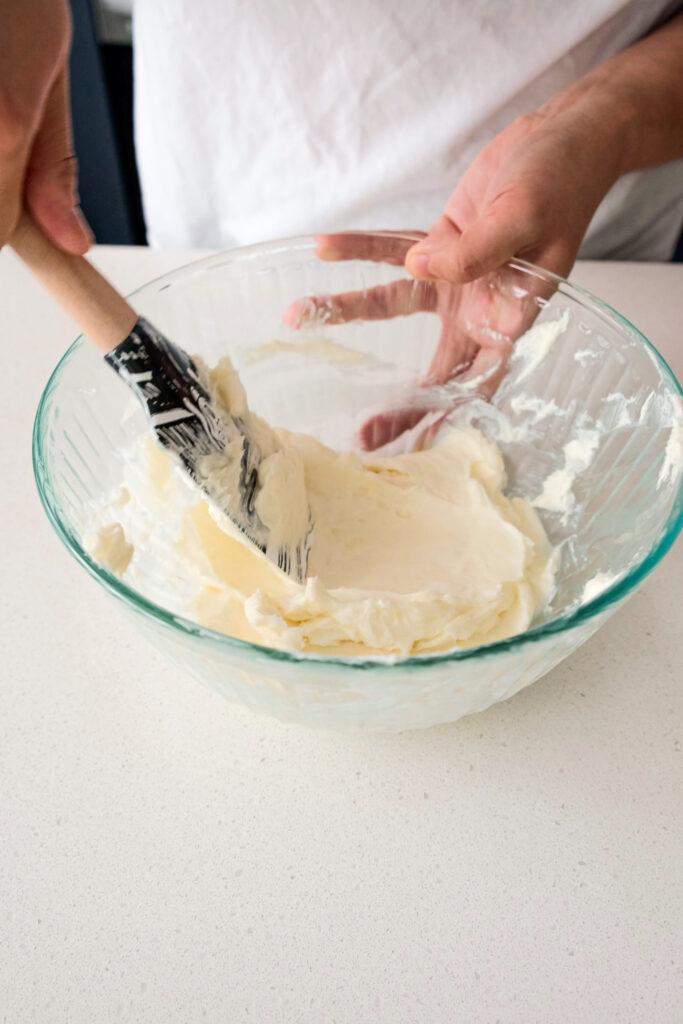
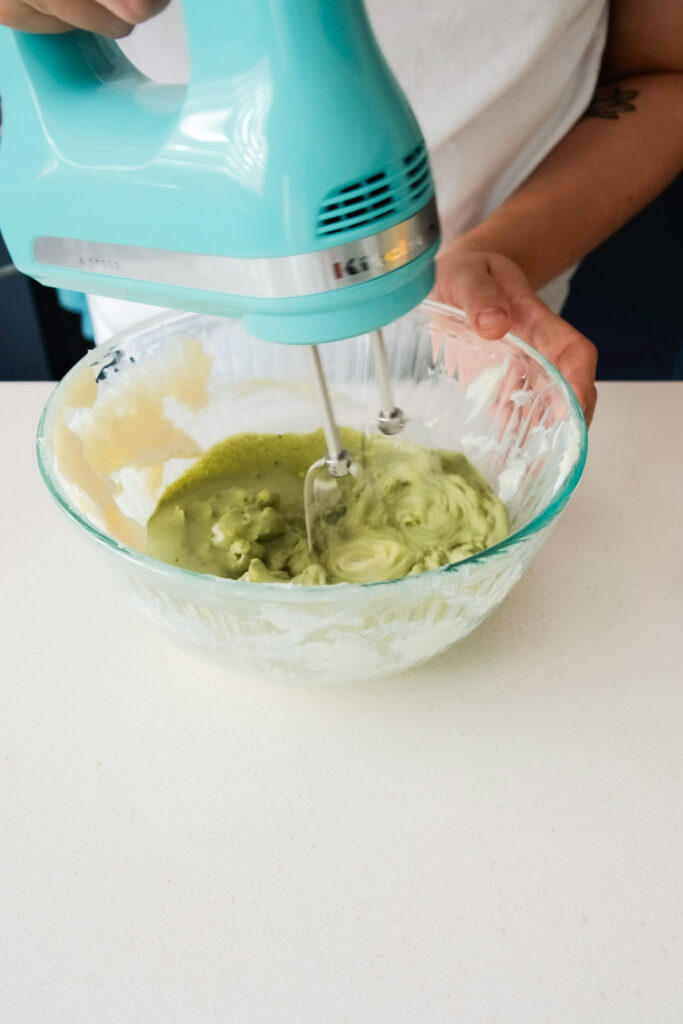
- Combine cream cheese and sugar. Use a spatula or hand mixer to cream together the cream cheese sugar mixture.
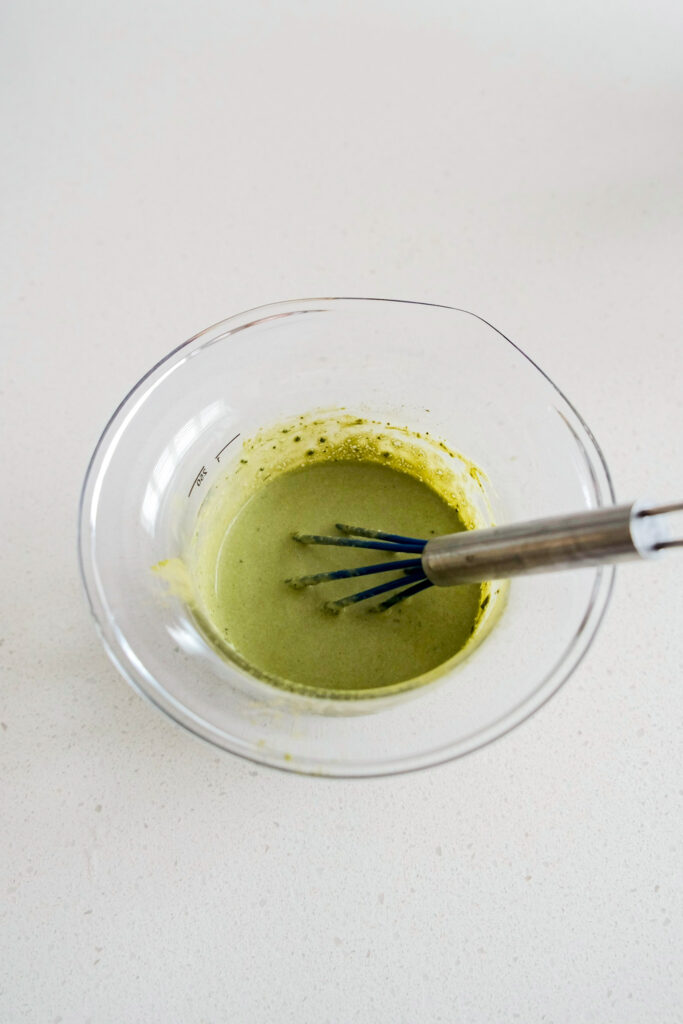
- Mix Matcha with whipping/heavy cream until the Matcha is fully incorporated
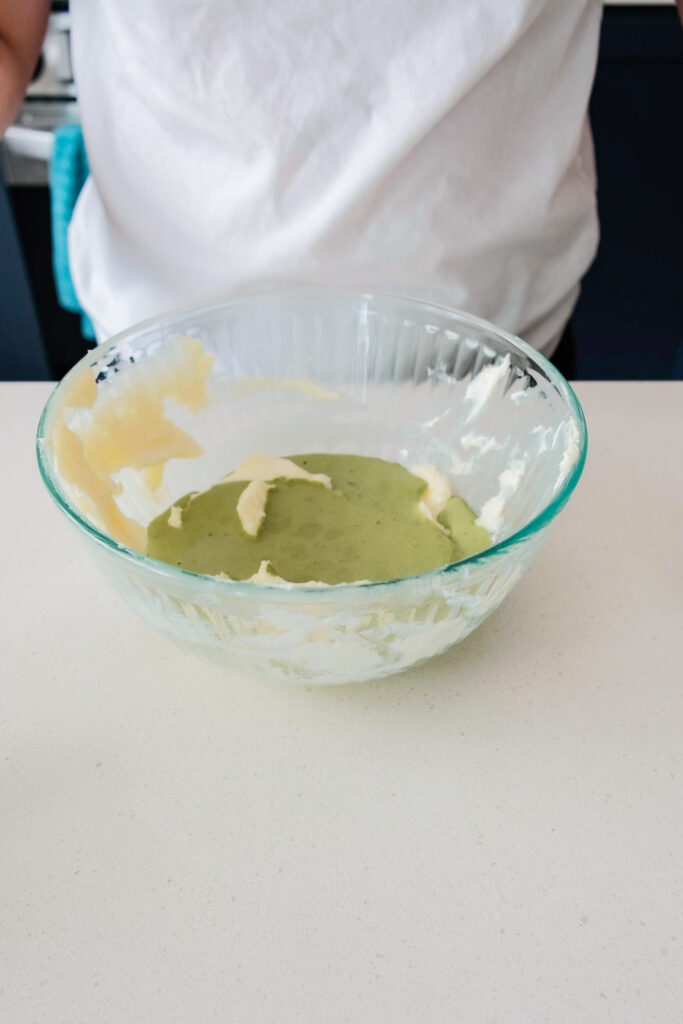
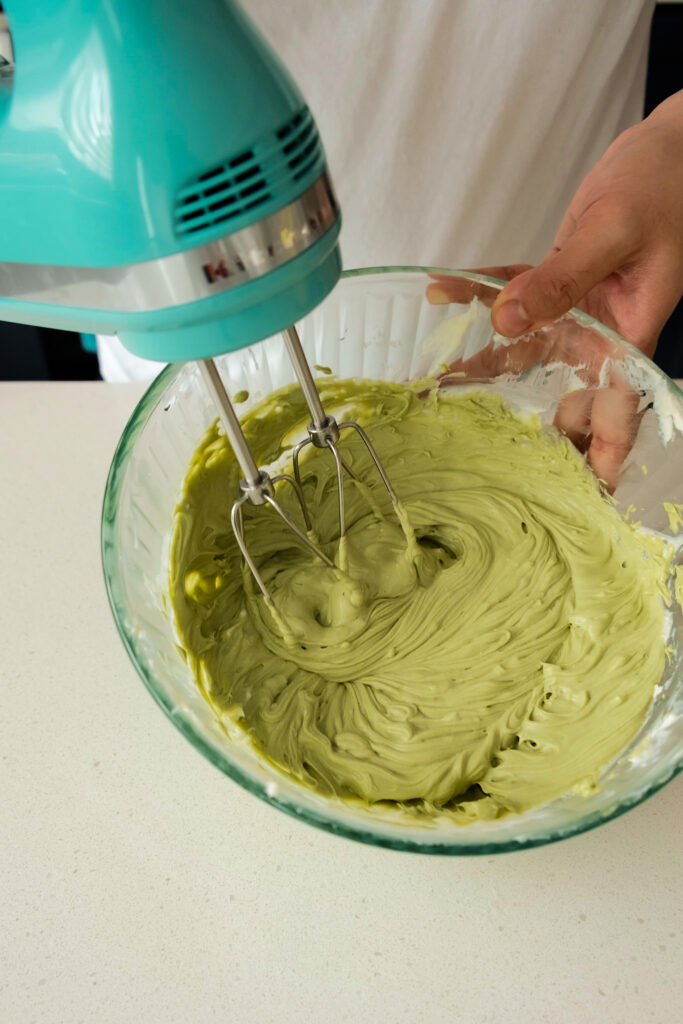
- Pour the matcha cream into cream cheese. Use a hand mixer to mix together.
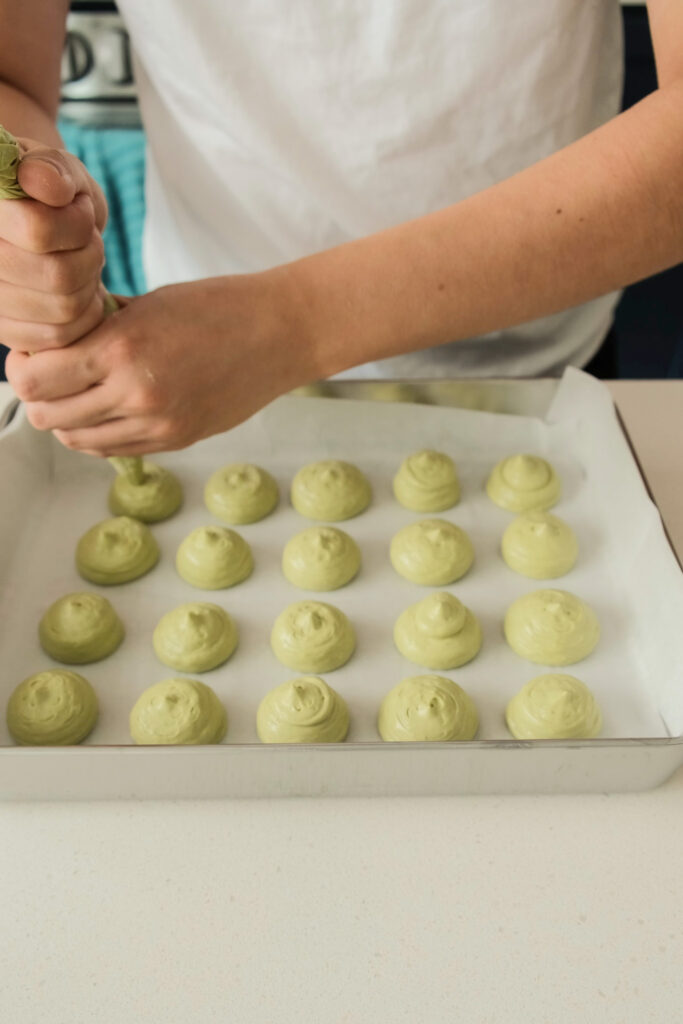
- Once it’s fully incorporated, put the mixture into a piping bag.
- Pipe onto a baking tray about 1 in round disc (30g)
- Freeze for at least 1 hour.
Mooncake skin
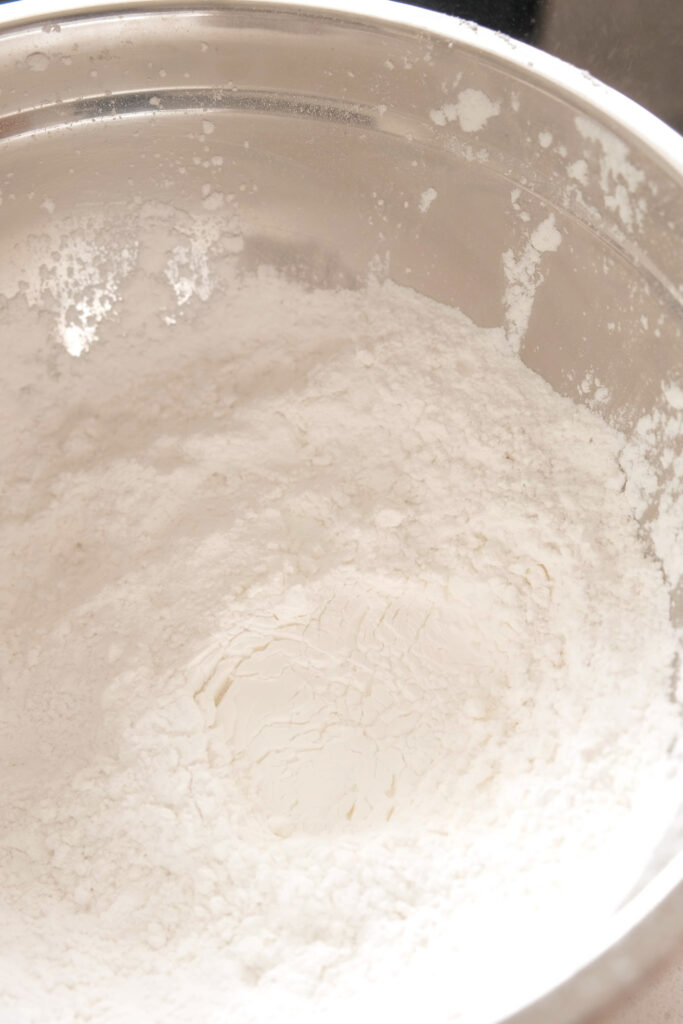
- To prevent sticking, cook some rice (glutinous or regular) flour in pan at medium low heat for about 5 minutes. Set aside to cool.
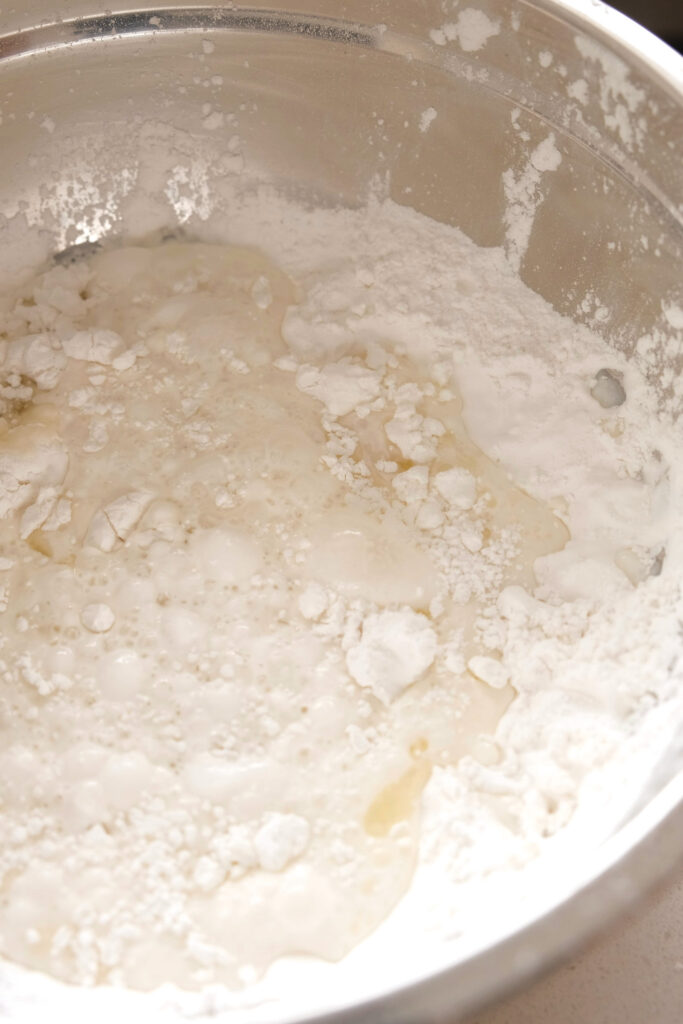
- Combine all the dry ingredients.
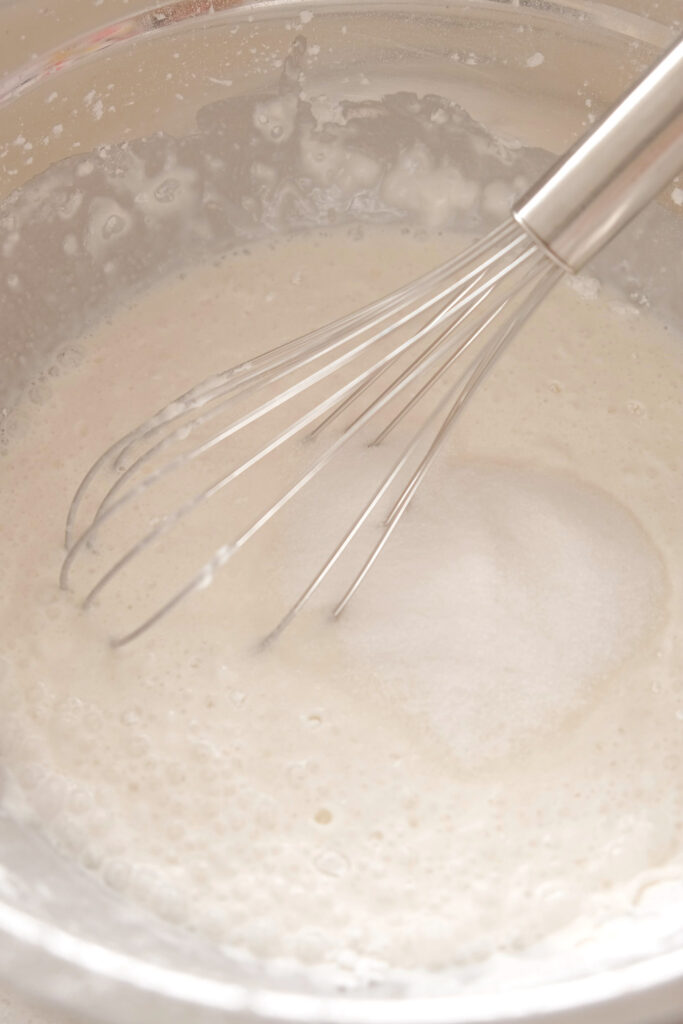
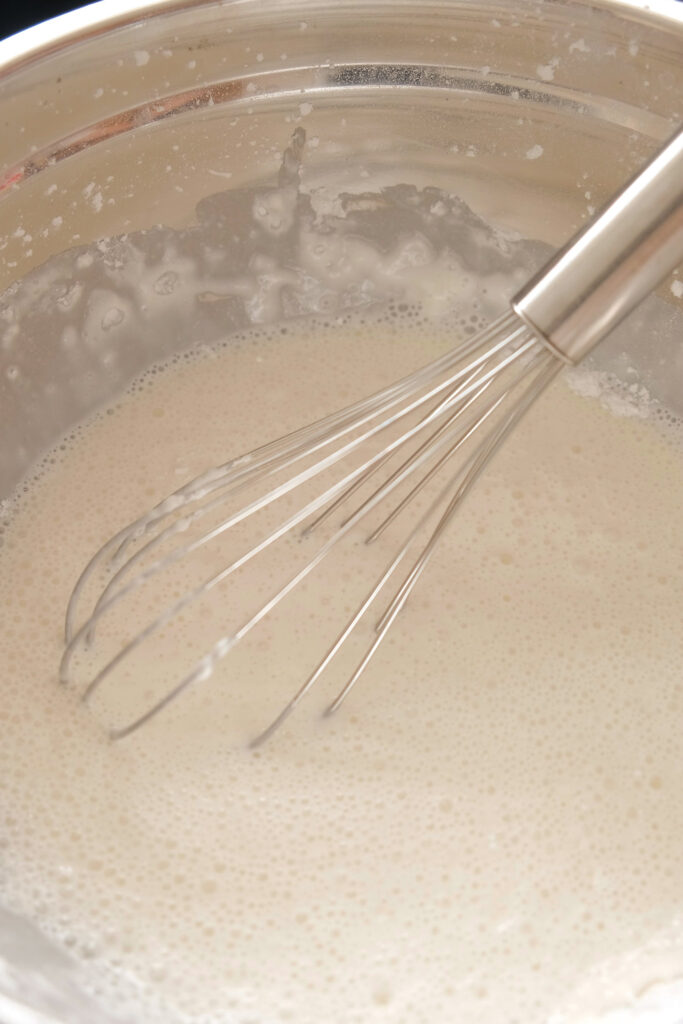
- Add in oil and milk. Whisk to combine
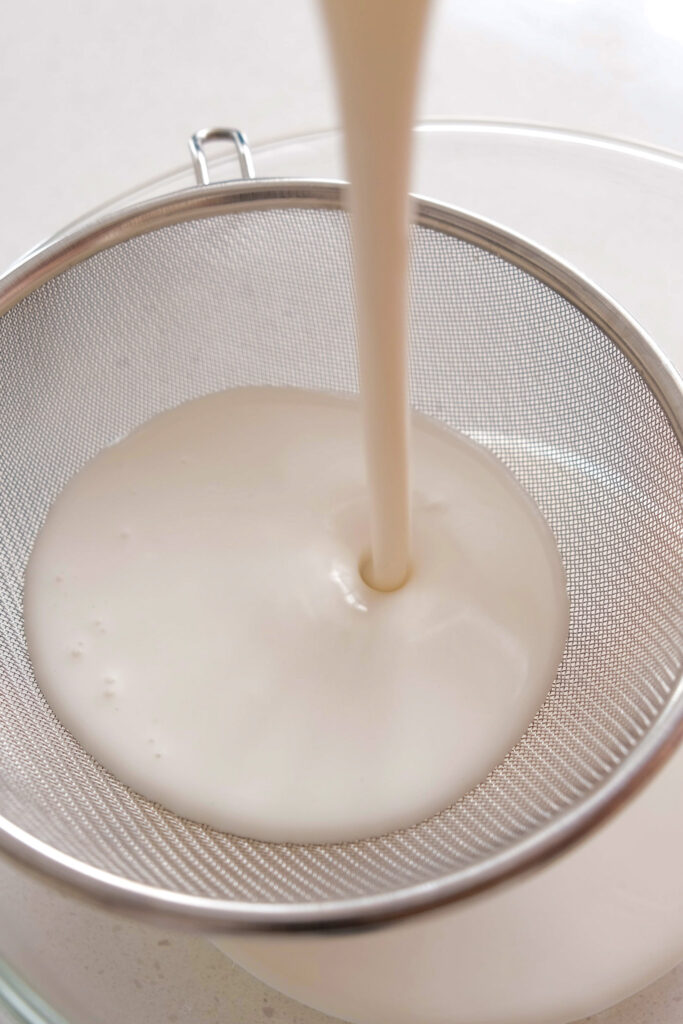
- Strain the liquid into a microwave or heat proof bowl.
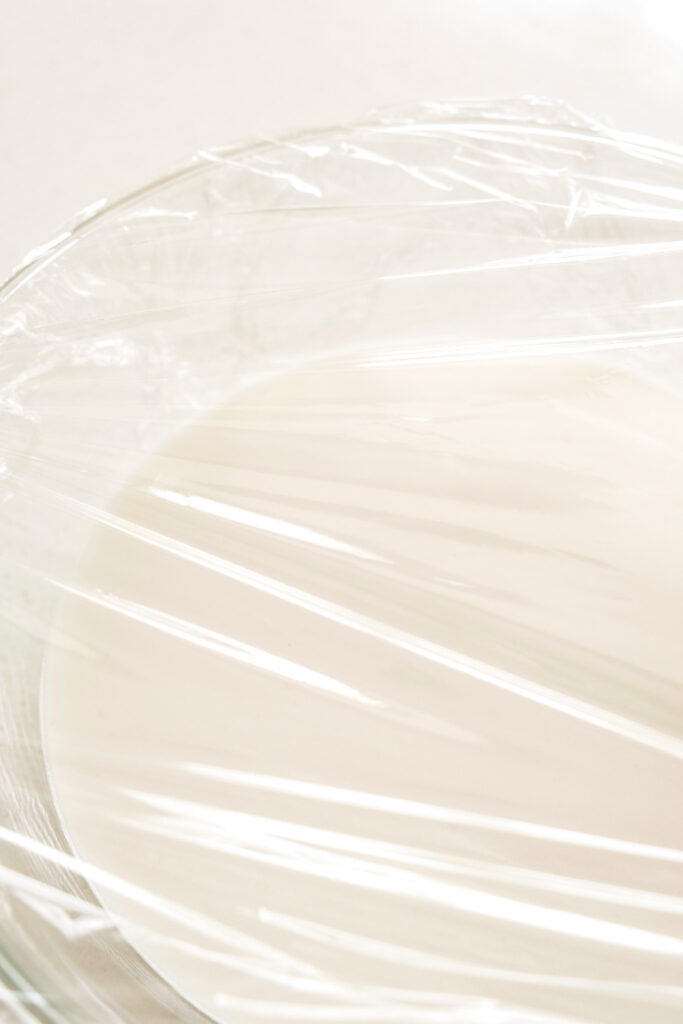
- Cover with plastic wrap. Poke some holes into the plastic wrap.
- Either microwave for 2-3 minutes (power: 1100W) or steam for 30 minutes (steam after the water is boiling).
- Let it cool down for about 10 minutes. The dough should still be warm.

Making the mooncake
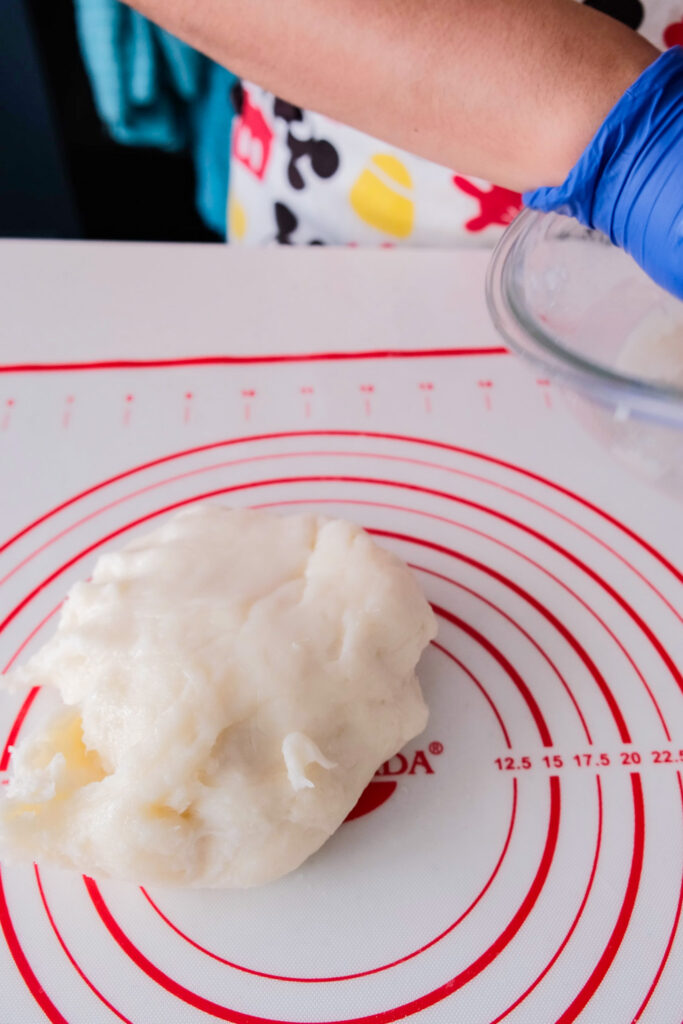
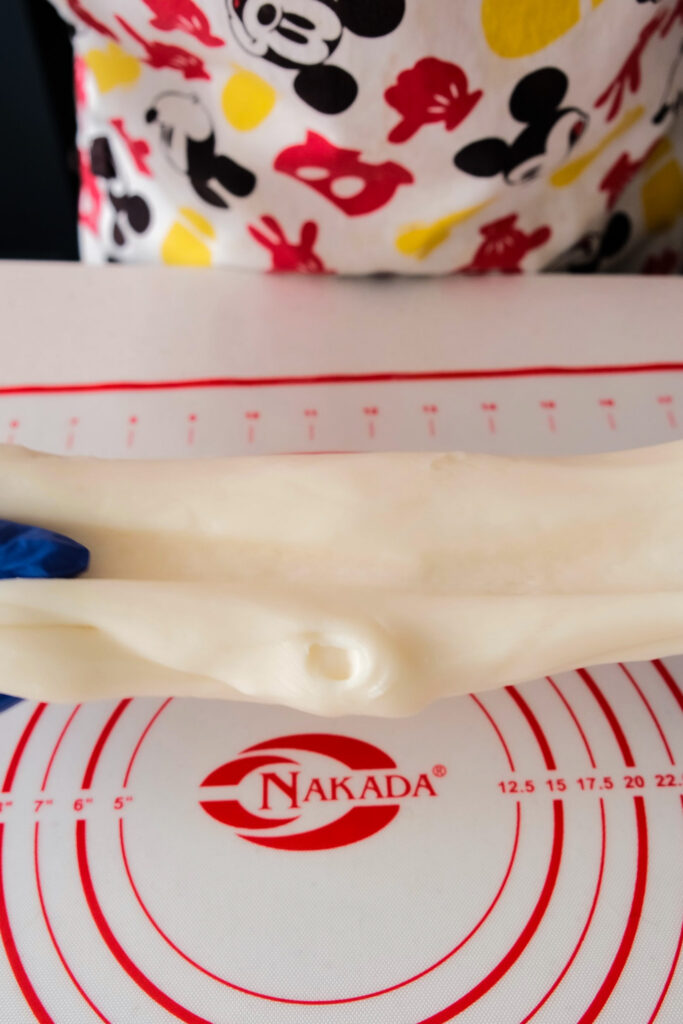
- Wear gloves to prevent sticking and protect from heat. Knead the dough until you can stretch the dough without breaking. This will help the skin stay soft and easier to wrap the matcha cream filling.
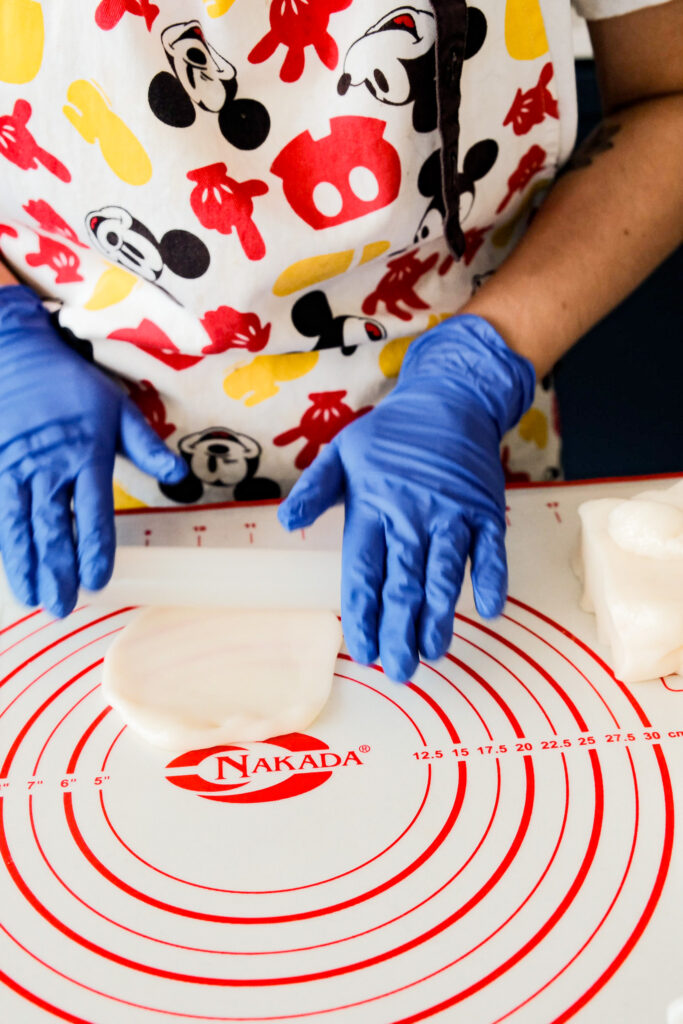
- Divide the dough into equal pieces (about 35g). Take the matcha cream out to let it thaw a bit.
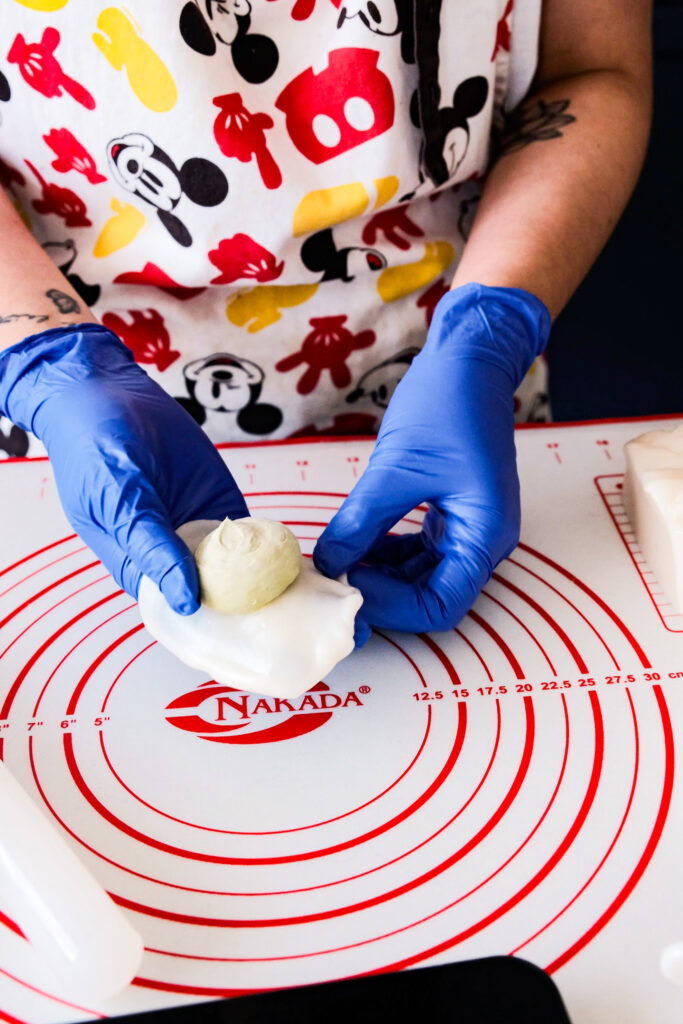
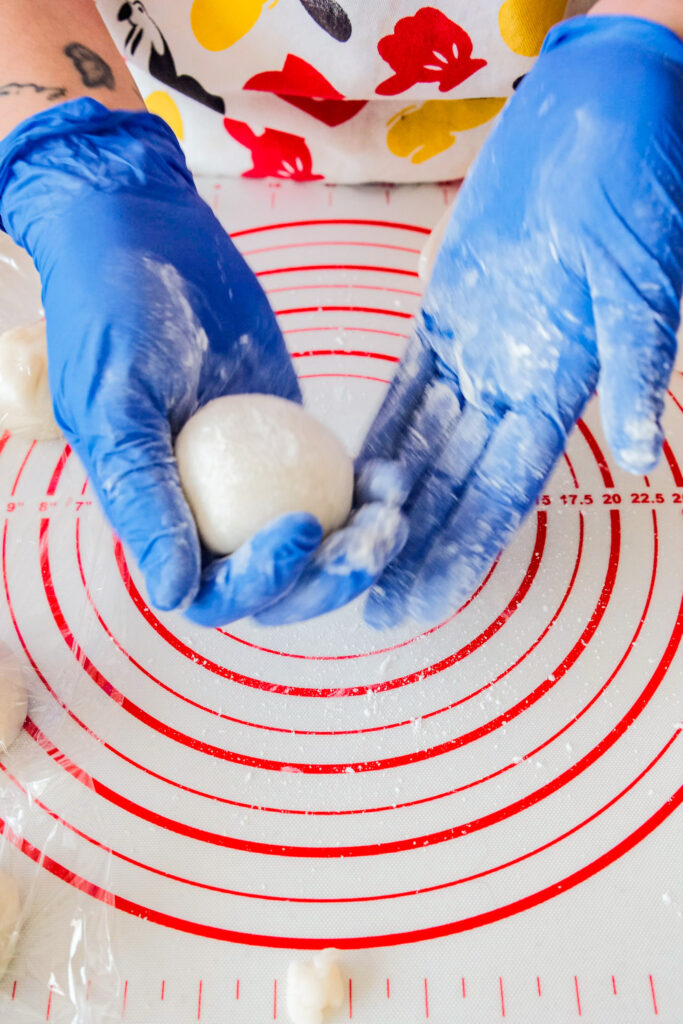
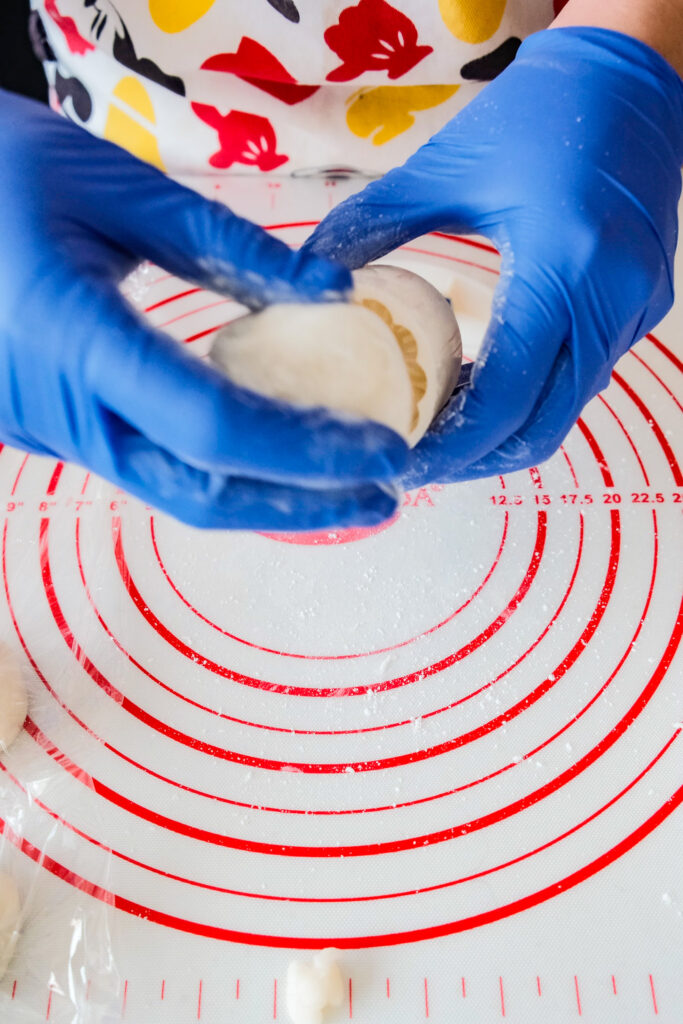
- Roll out the snow skin dough. Make sure to leave the centre thick and outer rim thin.
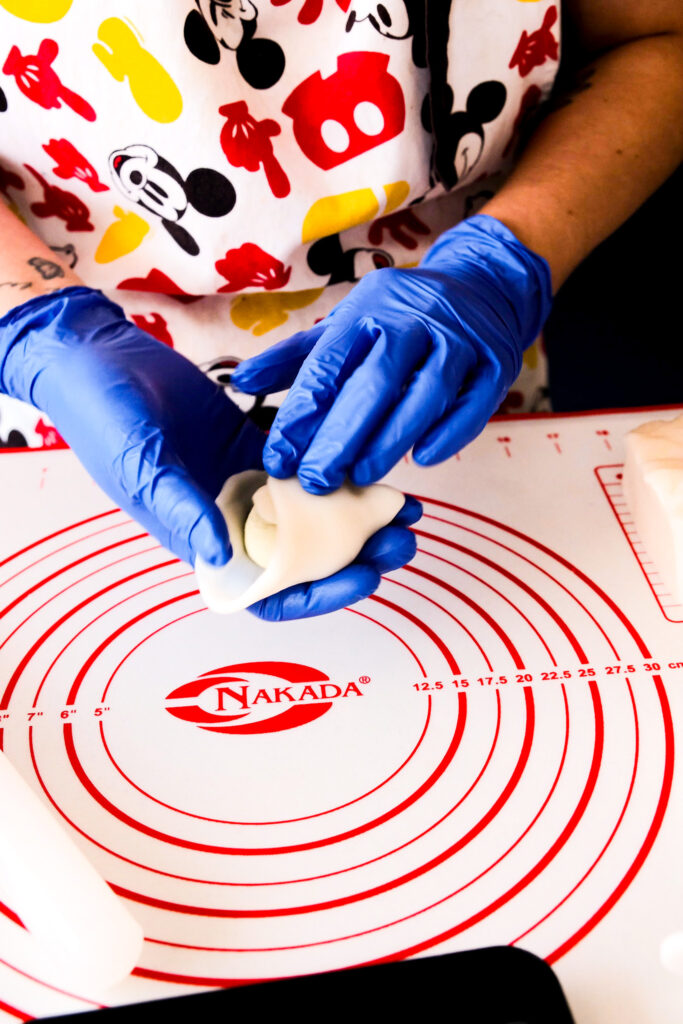
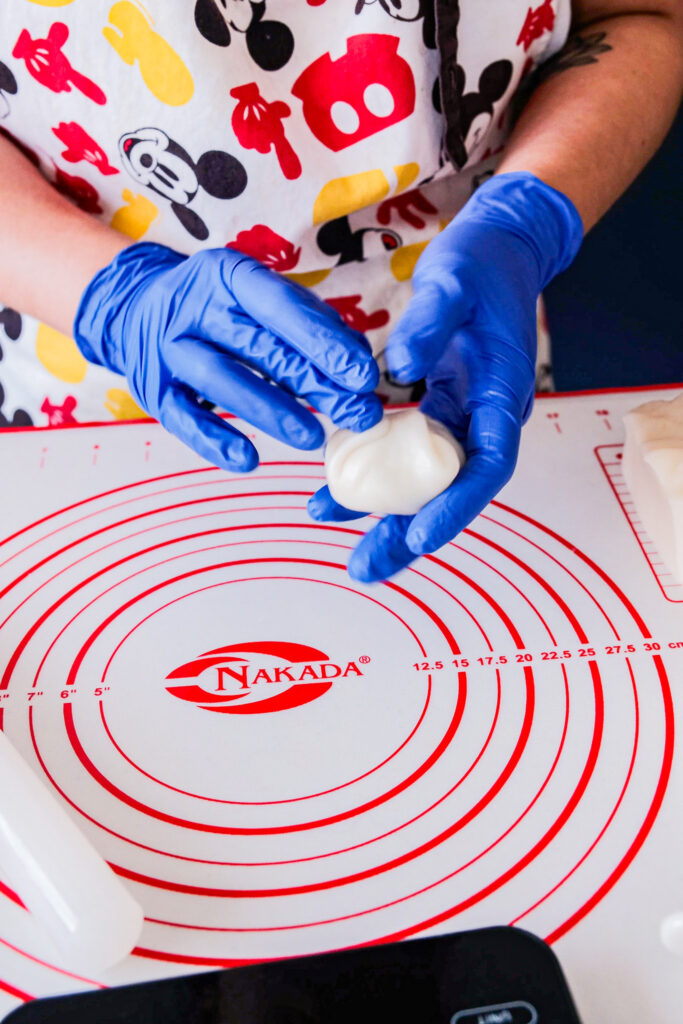
- Put the matcha cream in the centre. Wrap the skin around matcha cream centre. Pinch off any excess snow skin so it’s not too thick.
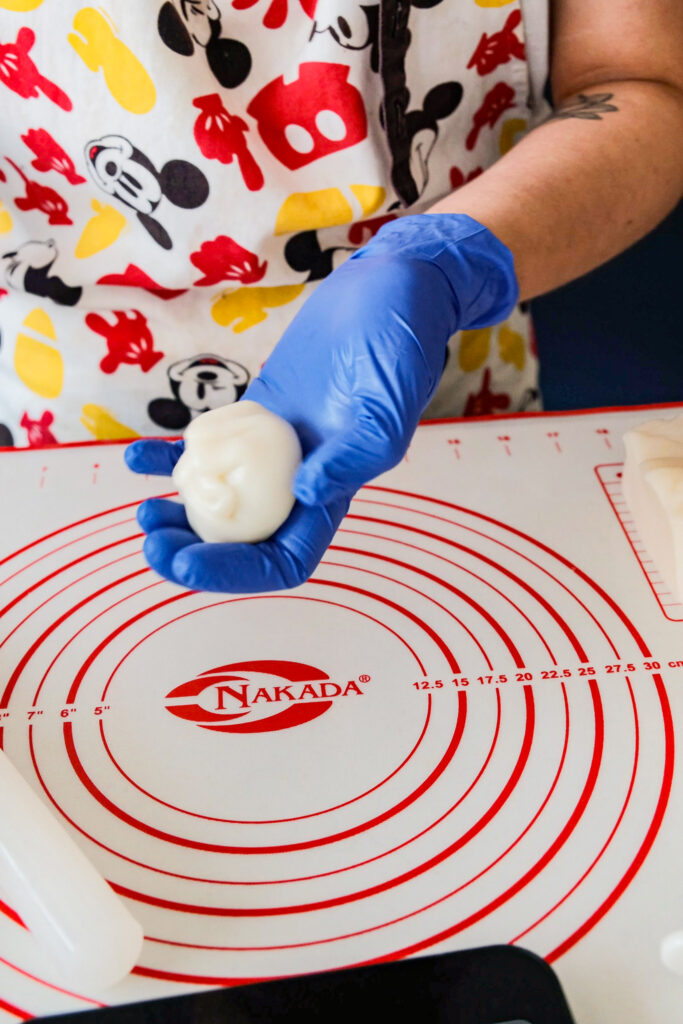
- Cover and put into the fridge for about 5 minutes. This will help maintain its shape when using the mold.
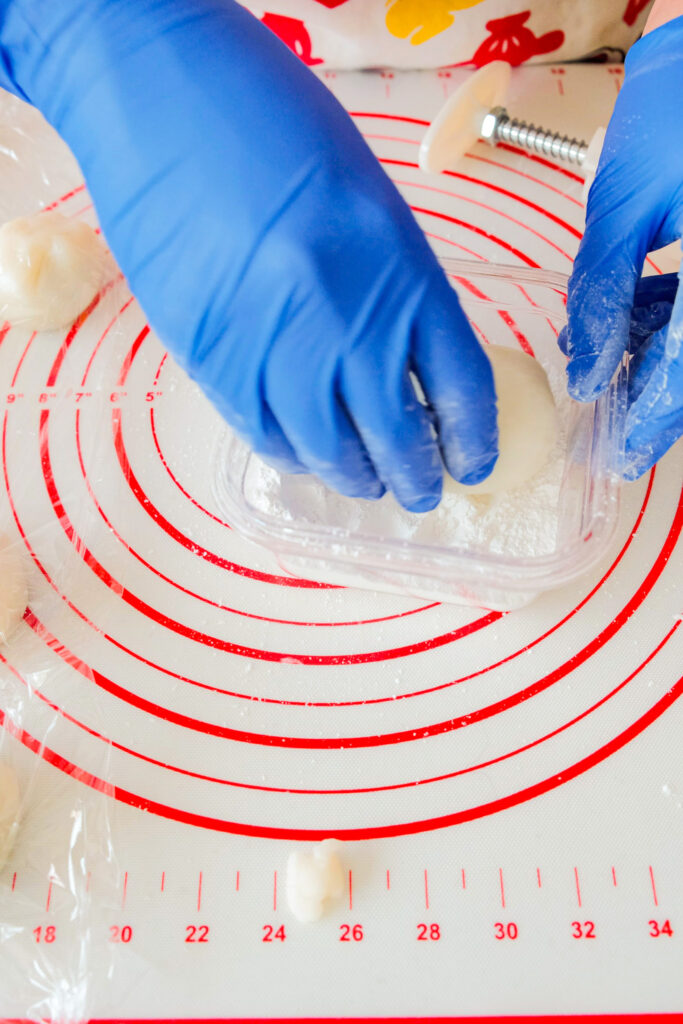
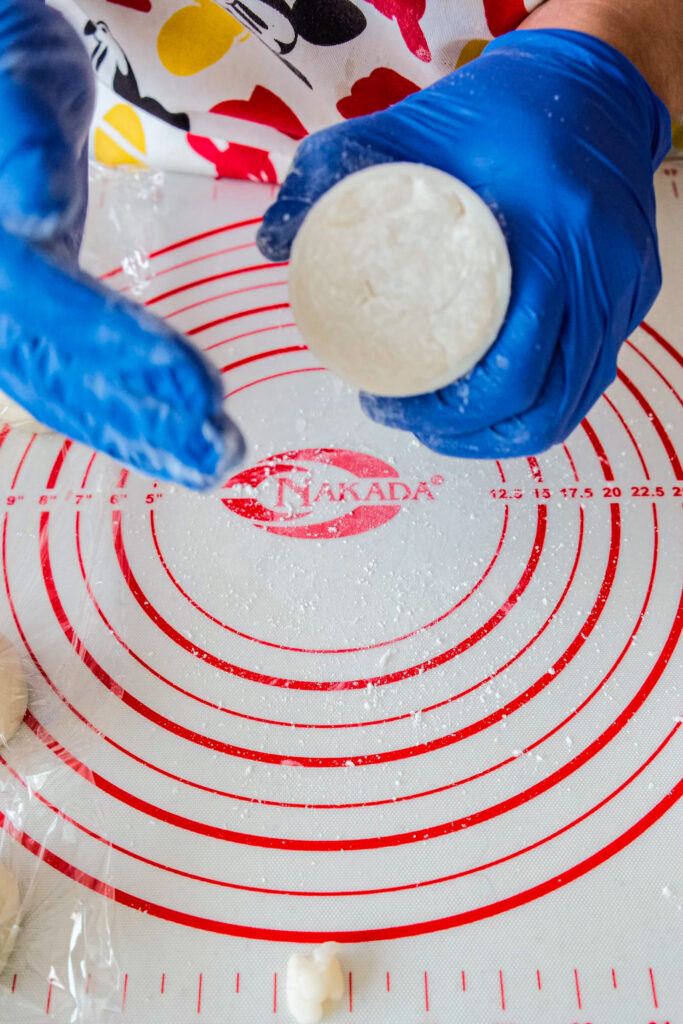
- Roll the ball into some cooked rice flour and dust off the excess.
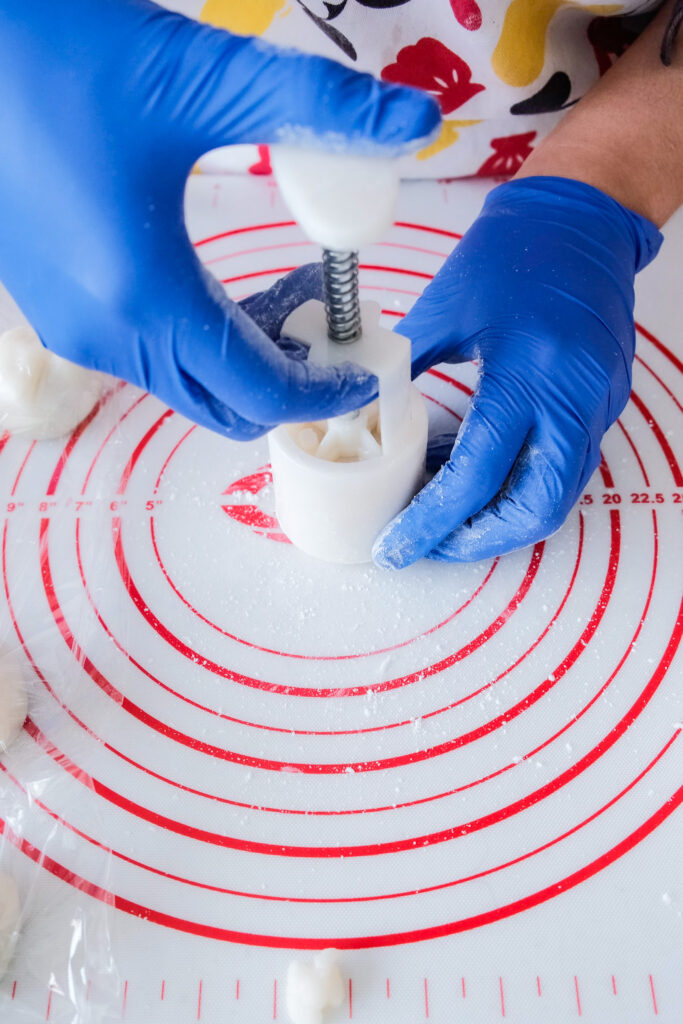
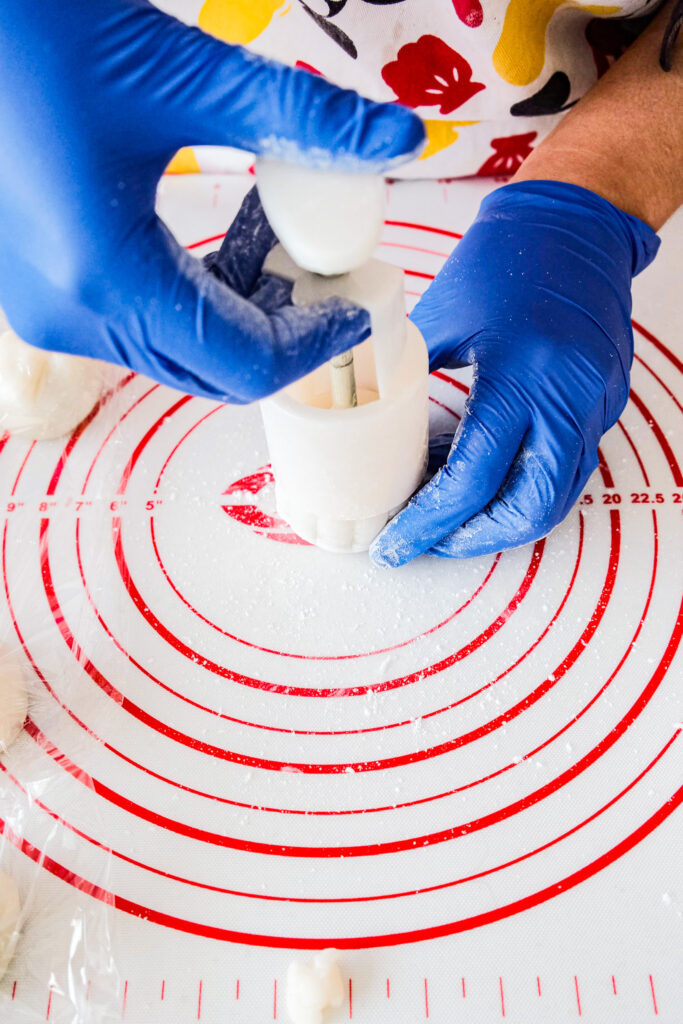
- Take each individual balls and place the smooth side down towards the mold pattern.
- Press down firmly so the pattern is imprinted onto the snow skin Before eating, individually wrap the mooncake and freeze for about 20 minutes.
- Enjoy it after freezing, or keep it in the freezer with the individual plastic wrap. Consume within 5 days.

Storing your mooncakes
If you don’t plan on eating it right away, then individually wrapped them in plastic wrap to prevent drying out and keep in the freezer. It taste SOO much better when stored in the freezer than in the fridge. The skin will stay soft and not hard.
Pro-tip
- For the cream filling, make sure to let the cream cheese and whipping/heavy cream come to room temperature. Room temperature heavy cream will help to dissolve the matcha.
- Use neutral cooking oil instead of butter, this will help to the keep the mooncake skin soft even under refrigeration.
- Use gloves to prevent dough from sticking to your hands and also protect you from the heat. You need to work the dough when it’s slightly warm. It will cool down as you work.
- Knead the dough until you can stretch it or else the filling will come out as you are trying to wrap it.
- If you are not going to be using the dough right away, wrap tightly in plastic wrap and put into fridge. To soften it, add a bit of water and oil, cover tightly with plastic wrap and microwave for about 1 minute. You will knead it a bit before using.
- After wrapping the matcha cream in the snow skin, refrigerate for about 5 minutes to slightly melt the cream but not enough that it’s runny.
- To prevent sticking to the mold, use cooked rice flour to coat the mooncake.
- Dust off the excess rice flour so it’s easier to stamp the pattern.
- To prevent the skin from drying out, wrap the mooncake individually with plastic wrap.
Snow Skin Mooncake (冰皮月饼)-Matcha cream filling
Equipment
- 50g mooncake mold
Ingredients
Snow skin
- ⅓ cup of sugar
- ¼ cup of corn starch
- ¾ cup rice flour
- ¾ cup of glutinous rice flour
- 3 tbsp oil
- 1¼ cup milk
Matcha cream filling
- 1 pack cream cheese 250 or 8oz
- ⅓ cup sugar
- 1 tbsp matcha powder sifted
- ¼ cup whipping/heavy cream
Instructions
Matcha cream filling
- Combine cream cheese and sugar. Use a spatula or hand mixer to cream together the cream cheese sugar mixture.
- Mix Matcha with whipping/heavy cream until the Matcha is fully incorporated
- Pour the matcha cream into cream cheese. Use a hand mixer to mix together.
- Once it’s fully incorporated, put the mixture into a piping bag.
- Pipe onto a baking tray about 1 in round disc (30g)
- Freeze for at least 1 hour.
Mooncake skin
- To prevent sticking, cook some rice (glutinous or regular) flour in pan at medium low heat for about 5 minutes. Set aside to cool.
- Combine all the dry ingredients.
- Add in oil and milk. Whisk to combine
- Strain the liquid into a microwave or heat proof bowl.
- Cover with plastic wrap. Poke some holes into the plastic wrap.
- Either microwave for 2-3 minutes (power: 1100W) or steam for 30 minutes (steam after the water is boiling).
- Let it cool down for about 10 minutes. The dough should still be warm.
Making the mooncake
- Wear gloves to prevent sticking and protect from heat. Knead the dough until you can stretch the dough without breaking. This will help the skin stay soft and easier to wrap the matcha cream filling.
- Divide the dough into equal pieces (about 35g). Take the matcha cream out to let it thaw a bit.
- Roll out the snow skin dough. Make sure to leave the centre thick and outer rim thin.
- Put the matcha cream in the centre. Wrap the skin around matcha cream centre. Pinch off any excess snow skin so it's not too thick.
- Cover and put into the fridge for about 5 minutes. This will help maintain its shape when using the mold.
- Roll the ball into some cooked rice flour and dust off the excess.
- Take each individual balls and place the smooth side down towards the mold pattern.
- Press down firmly so the pattern is imprinted onto the snow skin Before eating, individually wrap the mooncake and freeze for about 20 minutes.
- Enjoy it after freezing, or keep it in the freezer with the individual plastic wrap. Consume within 5 days.
Notes
- 1 pack cream cheese filling (250g or 8oz)
- 1/2 cup of crushed Oreo or Lotus Biscoff
- 1/4-1/3 cup of sugar depending on how sweet you want.
- 1 pack cream cheese filling (250g or 8oz)
- 1 cup of ground up fruit
- 1/4-1/3 cup of sugar, depending on the sweetness of the fruits.